 Amelia Grace
 Every Pancake Day, without fail, this is the batter I reach for.
I used to think pancakes were one of those things you either had a knack for or you didn’t. My early attempts were thick, a bit rubbery, and stuck to the pan more often than they flipped cleanly.
Then I properly learned this method — Delia Smith’s classic approach to a British pancake — and I realised the whole thing hinges on one small step almost everyone skips: resting the batter.
Once you understand why that matters, pancakes stop being a gamble and start being something you can make with your eyes half closed on a Tuesday morning.
Why Resting the Batter Makes All the Difference
The trick behind a proper thin, lacy pancake isn’t a clever ingredient or a special pan. It’s time.
When you whisk flour, eggs and milk together, the gluten in the flour tightens up almost immediately, which is exactly what you don’t want in a pancake.
Left to sit for half an hour, that gluten relaxes fully, and the flour has a chance to properly absorb the liquid around it. The result is a batter that spreads thinly and evenly across the pan, and a pancake that flips and rolls without tearing.
Skip the rest, and you’ll still get a pancake — it just won’t be as tender, and it’s far more likely to split the moment you try to fold it.
Ingredients for Delia Smith Pancakes
Pancake Batter:
- 100g plain flour
- A pinch of salt
- 2 large eggs
- 300ml milk
- Melted butter or a neutral oil, for frying
To Serve:
- Lemon wedges
- Caster sugar
How to Make Delia Smith Pancakes — Step by Step
Step 1 — Make the Well
Sift the flour and salt into a large mixing bowl, then make a well in the centre. This gives you somewhere to crack the eggs without them sliding off into the flour around the edges.
Step 2 — Whisk in the Eggs
Crack the eggs into the well and start whisking from the centre outwards, gradually pulling in a little flour with each turn of the whisk. Working from the middle out like this is what stops you ending up with lumps.
Step 3 — Add the Milk Gradually
Pour in the milk a little at a time, whisking continuously, until you have a smooth batter roughly the consistency of single cream. It should coat the back of a spoon in a thin, even film.
Step 4 — Rest the Batter
Cover the bowl and leave the batter to rest for at least 30 minutes at room temperature. This is the step that makes the biggest difference to the finished pancake, so don’t be tempted to skip it.
Step 5 — Heat the Pan
Heat a small knob of butter or a splash of oil in a non-stick frying pan over medium-high heat until hot but not smoking. Wipe out any excess with kitchen paper, leaving just a thin, even coating.
Step 6 — Pour and Swirl
Pour in a small ladle of batter, tilting and swirling the pan immediately so it spreads into a thin, even layer covering the base.
Step 7 — Cook and Flip
Cook for 60–90 seconds, until the edges lift away from the pan and the underside turns golden with light brown spots. Flip using a palette knife or a confident toss, then cook the second side for a further 30–45 seconds.
Step 8 — Stack and Repeat
Slide the pancake onto a warm plate and repeat with the remaining batter, stacking the pancakes under a clean tea towel as you go to keep them soft and warm.
My Top Tips for the Best Delia Smith Pancakes
Don’t skip the resting time. I’ve tested this batter both rested and unrested, and there’s no comparison — a properly rested batter gives you softer, more pliable pancakes that don’t tear when you flip them.
Expect the first pancake to be a bit patchy. Mine almost always is, simply because the pan is still finding its correct temperature. Don’t judge the whole batch on it — the second pancake onwards is usually where things click into place.
Wipe the pan rather than adding more fat between pancakes. Too much butter left in the pan will fry the edges unevenly instead of giving you that lovely, even golden colour.
Use a ladle rather than pouring straight from a jug. It gives you a much more consistent amount of batter each time, so every pancake comes out roughly the same size.
Keep the heat properly hot, not just warm. A pan that isn’t hot enough gives you a pale, slightly soggy pancake instead of one with those characteristic golden spots.
Serving Suggestions
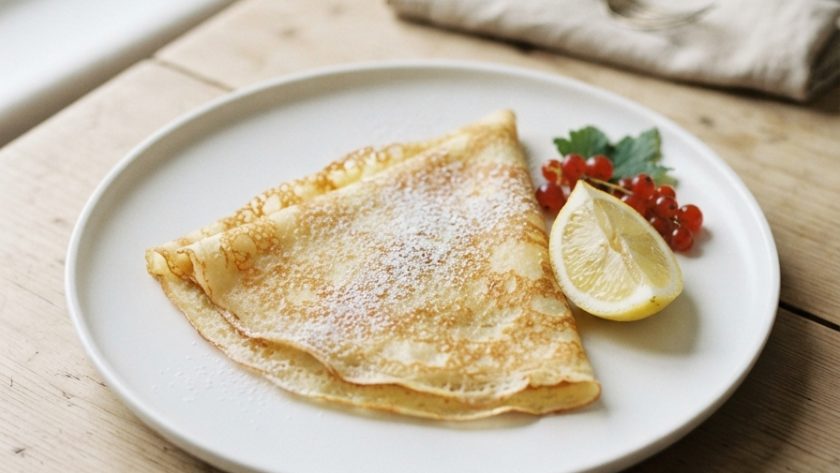
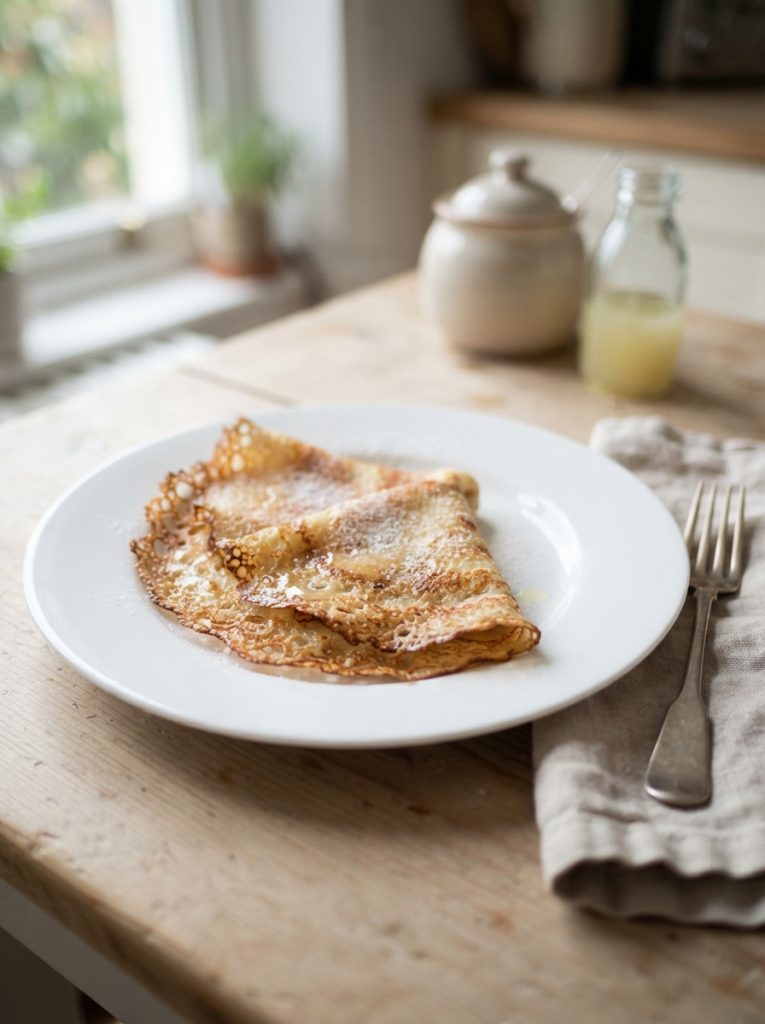
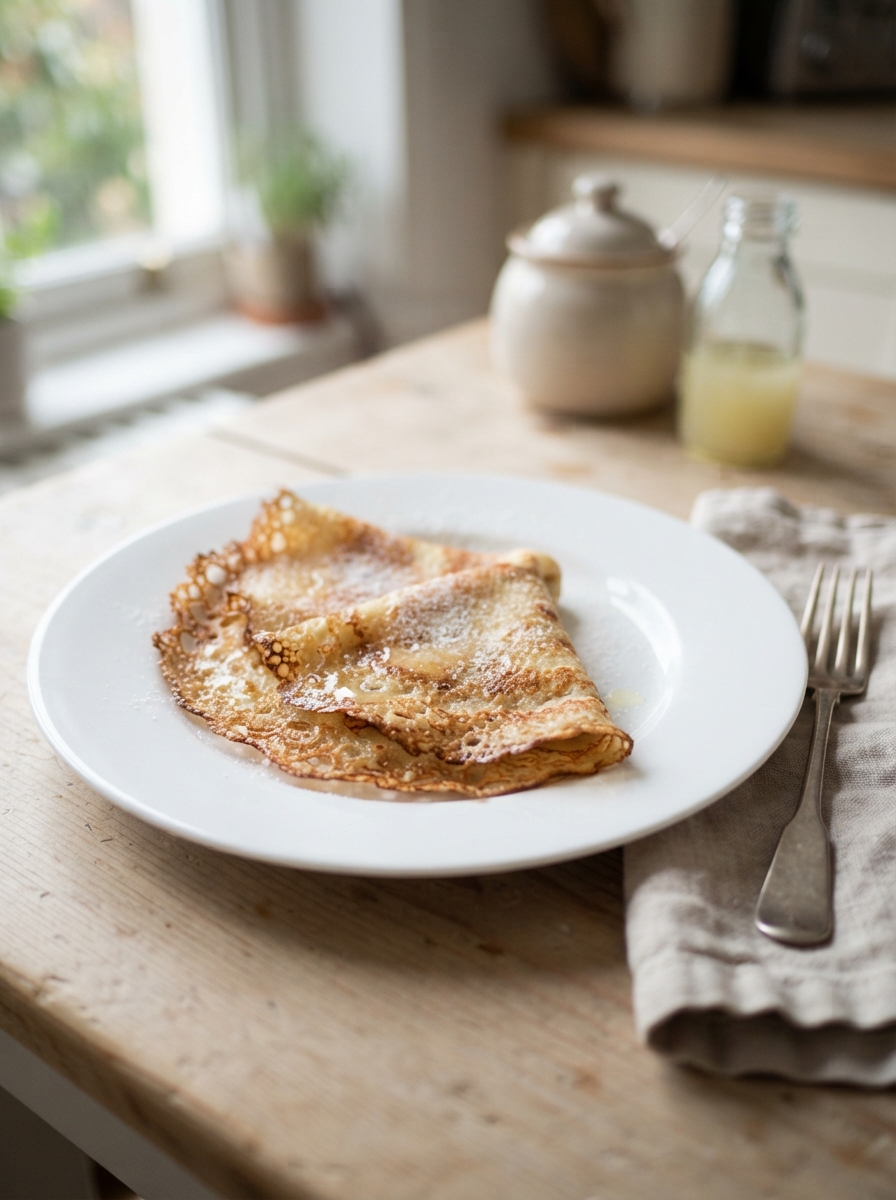
The classic way is simply lemon juice and a scattering of caster sugar, rolled up and eaten while still warm. I’m also very fond of these with golden syrup drizzled generously over the top, or with Nutella and sliced banana folded inside. For something a little different, try fresh berries with a spoonful of yoghurt, or go savoury with ham and cheese warmed through inside the pancake.
How to Store Delia Smith Pancakes
In the fridge: Let the pancakes cool completely, then layer them between sheets of greaseproof paper and store in an airtight container in the fridge for up to 2 days.
At room temperature: Best eaten fresh from the pan, but they’ll hold for a few hours in a cool kitchen if needed.
In the freezer: Freeze cooled pancakes layered with greaseproof paper for up to 2 months. Defrost at room temperature, then warm through briefly in a dry frying pan.
Delia Smith Pancake Recipe
Ingredients
Method
- Sift flour and salt into a bowl and make a well in the centre.
- Crack in the eggs and whisk from the centre outwards, gradually drawing in the flour.
- Slowly whisk in the milk until you have a smooth, thin batter.
- Cover and rest the batter for at least 30 minutes.
- Heat a little butter or oil in a non-stick frying pan over medium-high heat. Wipe away any excess.
- Pour in a small ladle of batter, swirling to coat the base thinly and evenly.
- Cook for 60–90 seconds until the edges lift and the underside is golden.
- Flip and cook the second side for 30–45 seconds.
- Slide onto a warm plate and repeat with the remaining batter.
Notes
Frequently Asked Questions About Delia Smith Pancakes
Why do my pancakes keep sticking to the pan?
This almost always comes down to either not enough fat in the pan or the pan not being properly hot before the batter goes in. A good non-stick pan, a light coating of butter or oil, and proper heat beforehand will sort this out completely.
Can I make the batter ahead of time?
Yes — you can make the batter up to 24 hours in advance and keep it covered in the fridge. Give it a good whisk before you start cooking, as it may separate slightly on standing.
Why is resting the batter so important?
Resting allows the starch in the flour to properly absorb the liquid and lets any gluten that formed during whisking relax. This is what gives you a tender pancake that holds together when you flip and roll it.
Can I make this recipe dairy-free?
Yes — swap the milk for your favourite plant-based alternative (oat milk works particularly well) and use oil instead of butter for frying.