

 Amelia Grace
 A proper scone should split apart in soft, buttery layers, not sit on the plate like a dense little brick.
I spent longer than I’d like to admit making scones that came out flat and heavy, before I finally understood what was going wrong. It wasn’t the recipe — it was how I was handling it.
Once I learned to keep everything cold and to stop overworking the dough, my scones started rising tall and light every single time, and this is the method I’ve used ever since.
This is a plain, classic scone — the sort you build a proper cream tea around, or dress up later with cheese or dried fruit once you’ve got the base sorted.
Why Cold Butter Is the Secret to a Good Scone
The texture of a good scone comes down almost entirely to temperature.
When cold butter is rubbed into flour, it stays in small, solid pieces rather than melting into the mixture. In the oven, those little pockets of butter melt suddenly, releasing steam that pushes the dough upwards and creates soft, flaky layers as it goes.
If the butter is too warm when you start, it blends into the flour instead of staying separate, and you lose that lift entirely — the result is a scone that’s dense and cakey rather than tall and light.
Keeping your butter cold, and working quickly so it stays that way, is really the whole trick.

Ingredients for Delia Smith Basic Scones
Scones:
- 225g self-raising flour, plus extra for dusting
- A pinch of salt
- 1 tsp baking powder
- 50g cold unsalted butter, cubed
- 25g caster sugar
- 150ml milk, plus a little extra for brushing
- 1 tsp vanilla extract (optional)
How to Make Delia Smith Basic Scones — Step by Step
Step 1 — Preheat and Prepare
Preheat your oven to 220°C (200°C fan / Gas 7). Line a baking tray with parchment paper.
Step 2 — Sift the Dry Ingredients
Sift the flour, salt and baking powder into a large bowl, so everything is evenly distributed before the butter goes in.
Step 3 — Rub in the Butter
Add the cold, cubed butter and rub it into the flour using just your fingertips, lifting the mixture as you go to keep plenty of air in it. Stop as soon as it resembles fine breadcrumbs — don’t be tempted to keep going.
Step 4 — Add the Sugar
Stir in the caster sugar until evenly distributed through the mixture.
Step 5 — Bring the Dough Together
Make a well in the centre and pour in most of the milk (and the vanilla, if using). Mix with a butter knife using a cutting motion rather than stirring, until the dough just comes together. Add the remaining milk only if the mixture feels too dry.
Step 6 — Pat, Don’t Roll
Turn the dough out onto a lightly floured surface and pat it gently into a round about 2cm thick. Avoid rolling it hard or kneading it like bread — you only want it smooth enough to cut.
Step 7 — Cut Straight Down
Cut out your scones using a 5–6cm round cutter, pressing straight down without twisting. Twisting the cutter seals the edges and stops the scones rising evenly.
Step 8 — Bake
Place the scones on the tray close together but not touching, brush the tops with a little milk, and bake for 10–12 minutes until well risen and golden on top.
Step 9 — Cool Briefly
Cool on a wire rack for a few minutes before serving warm.
My Top Tips for the Best Delia Smith Basic Scones
Keep everything cold. Cold butter and cold milk both help the scones rise properly instead of spreading flat across the tray.
Never twist the cutter. This is a small habit, but it makes a genuinely noticeable difference to how evenly the scones rise — press straight down and lift straight back up.
Handle the dough as little as possible. Every extra minute of kneading develops more gluten, and more gluten means a tougher scone.
Push offcuts back together gently rather than re-rolling firmly. Your second batch will always be slightly less tall than the first, but being gentle with the dough keeps the difference small.
Place the scones close together on the tray. This actually helps them rise upwards rather than spreading outwards as they bake.
Serving Suggestions
Serve these warm, split in half, with strawberry jam and a generous spoonful of clotted cream — jam first if you’re doing it the Cornish way, cream first for Devon. They’re also lovely simply with salted butter, or served alongside a bowl of soup for something a little more filling.
How to Store Delia Smith Basic Scones
In the fridge: Not necessary — scones are best kept at room temperature rather than chilled, which can dry them out.
At room temperature: Store cooled scones in an airtight container for up to 2 days.
In the freezer: Wrap cooled scones individually and freeze for up to 3 months. Defrost at room temperature, then warm through in a low oven for a few minutes to bring back that fresh-baked texture.
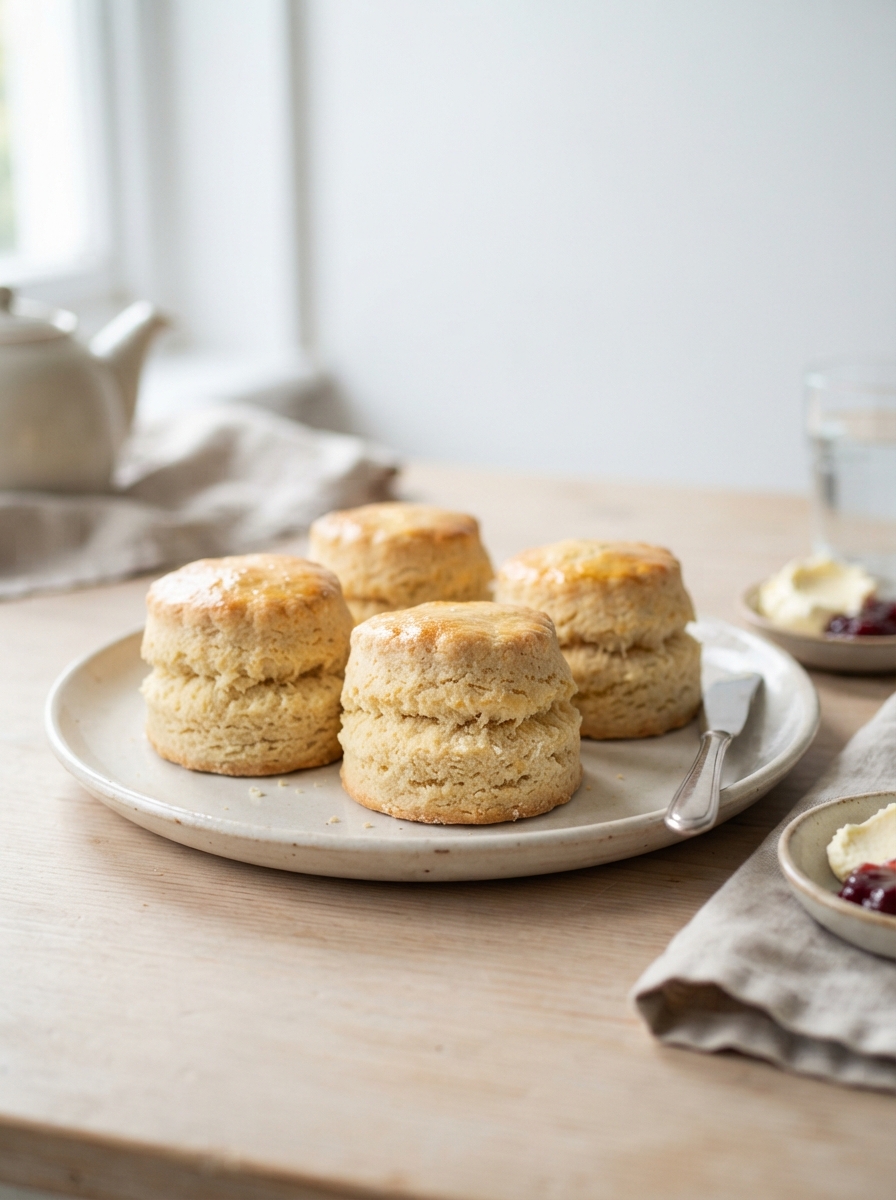
Delia Smith Basic Scone Recipe
Ingredients
Method
- Preheat oven to 220°C (200°C fan / Gas 7). Line a baking tray with parchment.
- Sift flour, salt and baking powder into a bowl.
- Rub in the cold butter until the mixture resembles fine breadcrumbs.
- Stir in the sugar.
- Make a well, add most of the milk (and vanilla if using), and mix with a knife into a soft dough.
- Turn out onto a floured surface and pat gently into a 2cm-thick round.
- Cut out scones with a round cutter, pressing straight down.
- Place on the tray close together, brush tops with milk.
- Bake for 10–12 minutes until risen and golden.
- Cool briefly on a wire rack before serving.
Notes
Frequently Asked Questions About Delia Smith Basic Scones
Why didn’t my scones rise?
This usually comes down to one of three things: the butter wasn’t cold enough, the dough was overworked, or the cutter was twisted when cutting out the scones. Keep everything cold, handle the dough gently, and press straight down with the cutter.
Can I make the dough ahead of time?
You can prepare the dough a few hours ahead, cover it, and keep it in the fridge before cutting and baking. I wouldn’t leave it much longer than that, as the baking powder starts to lose its strength.
Why is my scone dough too sticky?
This normally means too much milk went in. Add it gradually rather than all at once, and stop as soon as the dough comes together — you can always add a splash more, but you can’t take it back out.
Can I freeze the raw dough instead of baking it first?
Yes. Cut the scones, freeze them raw on a tray until solid, then transfer to a bag. Bake straight from frozen, adding a couple of extra minutes to the cooking time.